> ## Documentation Index
> Fetch the complete documentation index at: https://nango-wari-migrated-bigcommerce-docs.mintlify.site/llms.txt
> Use this file to discover all available pages before exploring further.
# Apple App Store - How do I link my account?
# Overview
To authenticate with the Apple App Store, you need:
1. **Issuer ID** – The unique identifier for your App Store Connect API account.
2. **Key ID** – The identifier for the API key you generate.
3. **Private Key** – The `.p8` private key file content downloaded when you create the API key.
This guide walks you through generating an API key and finding your Issuer ID and Key ID in App Store Connect.
### Prerequisites
* An [App Store Connect](https://appstoreconnect.apple.com) account with the **Account Holder** or **Admin** role (required to generate API keys).
### Instructions
#### Step 1: Create an API key
1. Sign in to [App Store Connect](https://appstoreconnect.apple.com) and go to **Users and Access** -> **Integrations** -> **App Store Connect API**.
2. Click **Generate API Key** (or the **+** button), give it a name, and select the access level your integration needs.
3. Click **Generate**, then download the `.p8` private key file.
Apple only lets you download the private key file once. Store it somewhere safe — you'll need its raw content in Step 4.
See Apple's guide on [creating API keys for App Store Connect API](https://developer.apple.com/documentation/appstoreconnectapi/creating_api_keys_for_app_store_connect_api) for the full walkthrough.
#### Step 2: Note your Issuer ID and Key ID
Back on the **App Store Connect API** page:
* **Issuer ID** is displayed at the top of the page, above the keys table. See Apple's docs on [generating tokens for API requests](https://developer.apple.com/documentation/appstoreconnectapi/generating_tokens_for_api_requests#3028613) for details.
* **Key ID** is listed next to the API key you just created.
Keep both values available for the next step.
#### Step 3: Scope format
When setting **Scope**, use the format ` `, matching the request you want to allow, e.g. `GET /v1/apps`. To allow more than one request, separate them with commas, e.g. `GET /v1/apps,GET /v1/builds`. See Apple's docs on [generating tokens for API requests](https://developer.apple.com/documentation/appstoreconnectapi/generating_tokens_for_api_requests#4586138) for the full scope syntax, including how to restrict to a specific resource instance with query parameters.
#### Step 4: Enter credentials in the Connect UI
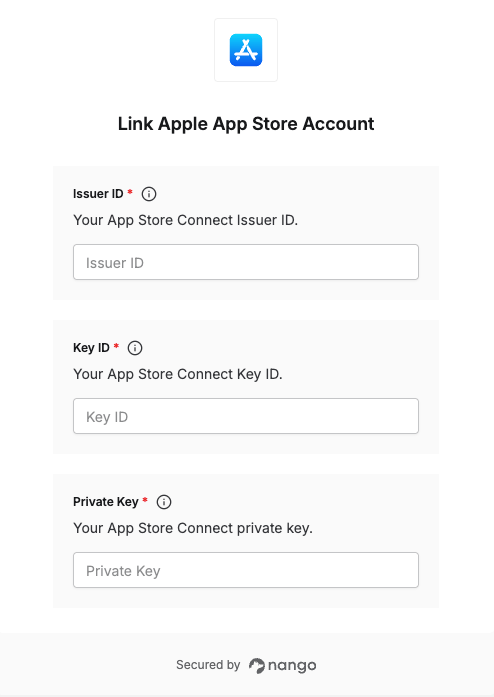
Once you have your **Issuer ID**, **Key ID**, and **Private Key**:
1. Open the form where you need to authenticate with Apple App Store.
2. Enter your **Issuer ID** and **Key ID** in their respective fields.
3. Paste the raw content of the downloaded `.p8` file into the **Private Key** field, unmodified (Nango encodes it internally — don't base64-encode it yourself).
4. Optionally, set **Scope** to restrict the token to one or more specific API requests. Leave it blank to allow the full set of requests your key has access to.
5. Submit the form to complete authentication.
 You are now connected to the Apple App Store.